Wednesday, 25 March 2015
Monday, 16 March 2015
Evaluation Question 6: Anbish
During the process of constructing this product, I have learnt how to use many technology, software and equipments. In this process I used camera, tripod,phone, blogger, Imovie and photoshop.
Camera
 In order to get good video quality, we used a Canon DSLR 600D to record the footage for our opening sequence, which allowed us to shoot in full 1080p HD at 24 frame per second. This was perfect for us because most TV , smart phone, computer monitors supports 1080p video content, meaning the video quality will be clear.Learning how to use DLSR was little challenging, as it had many buttons and features which I had never used. However, with practice and researching I was able to learn about different settings such as ISO, shutter speed,frame per second and white balancing. These all helped me produce the best quality video I could.
Tripod
 Another useful equipment I used was a tripod. It was useful because it held the camera at a fixed position, which minimized the camera from shaking.Furthermore, using tripod allowed us to adjust different level of heights, which was extremely useful when doing high and low angle shots. Moreover, it was also useful when panning and tilting the camera, as it was smooth while panning and tilting.
Phone
Smartphone was another technology we used to communicate with colleagues. In order to

I also used my android device to present one of my work. In order to present my work I used screen cast which allowed me to record my screen and as well as my voice. It was great way of presenting my work as it showed creativity and use of technology at the same time.
I think that use of phone is extremely useful as there are more apps that allows you to do things that you would normally use computer to do. For Example, to make collages I downloaded apps Pixlr, which is a photo editing app that allows you to edit pictures and make collages. Using this apps was helpful to create collages that I had made because it was portable, less time consuming and easy to use.
Sound cloud
I used sound cloud to record my voice for production logs. I was able to access sound cloud on my computer and my phone. I chose sound cloud as everything as everything was stored in the cloud, meaning I would be able to access it from any device that has a internet connection. I found it great as I could embed that code directly in our blog.
Blogger
 Blogger was the most used website to post our work. In Blogger we had to post our research, opening sequence and evaluations. Using Blogger helped me learn how to embed html post from website such as Slideshare, Youtube, Prezi and Pow toon. Furthermore, Blogger was great because we could customize it by changing background, colour and layout.
 Powtoon
Powtoon was a web application that I used in order to create video that contains animations. Using this has helped me learn about continuity. For example, when I made powtoon for the first time , I would change the background in every slide. However, after a feedback I received from my teacher, I made all the background the same colour and positioned the characters and the text at a same position through out the slide. This made the powtoon content look more professional and there was no weird placement and change of colour.
IMovie
 IMovie was what I used to edit audience feedback. However, I could have used Adobe premiere pro to edit the video but I decided to choose IMovie as it was less time consuming. Keeping up with the time was vital because of the deadline set by our group, Therefore I thought I would use Imovie to meet the date line of the audience research. IMovie was fast , easy and usually had everything I needed to edited short clip such as audience feedback.
Photoshop
 Photoshop was what I used to to edited the poster. Using photoshop helped me learn about tools such as lasso tools and magic wand which I used to crop a picture without a background. Making poster was fairly easy but it was time consuming as we had to take pictures before hand then follow the convention of the movie poster to make it look like a film poster. For the poster I had to write down movie title, credit block and tagline. To make the title and credit block, I had to get a font from Da front.com. Finding font in Dafont.com helped me learn that there are san-serif and serif font, which are used for different purpose. For example, I chose a san serif font because it looked modern and clean.
Weakness
The weakness that I faced during making the opening sequence was video that would come up as too blue. To overcome this our group changed the colour balance in premiere pro to make it look more natural. The reason why it turn blue the colour balance of the camera was set as shade.Thought this experience I have learnt about colour balancing on my camera and through the editing software such as Imovie and Premier pro. Through this process , I learnt the colour balance is important and a part of a convention. For example, Blue colour balance are mostly used in action film. However, Natural looking colour balance is used in Drama.
Strength
My strenght of mine was being able to use software such as photoshop and Imovie . I found it easy as I knew some basics on how to use it.
Conclusion
Overall, I have learnt that using technology is a building block for constructing of any meda product. Without computer, premiere pro,IMovie,Garageband, Photoshop and blogger, we would have difficulty to produce, create and publish our media product. From using Camera such as DSLR I have gained more experience on the different type of shots and how to use the camera. Furthermore, Using website such as Dafont, I was able to choose font that would fit the convention of poster and our film opening sequence. Finally, with the help of blogger I was able to present my research , process of production and evaluation digitally.

Sunday, 15 March 2015
Saturday, 14 March 2015

Thursday, 12 March 2015
Wednesday, 11 March 2015
Monday, 9 March 2015

Monday, 16 February 2015
Friday, 13 February 2015
Wednesday, 11 February 2015
Monday, 9 February 2015

Sunday, 8 February 2015
Drugteen Movie Poster Feedback - Henali
While making the Drugteen Movie Poster, I made several drafts of it so that I was aware of which poster was the most popular on between the target audience. Examples of these are at the bottom.

In addition to this, I also asked for feedback and comparison for why they chose one poster instead of the other. Due to the feedback, I was able to get good results for my final poster that I had made.
DRAFT 1: DRAFT 2:


DRAFT 3:
As you can see from above, I had made many different versions of the movie poster with slight changes. After showing my first draft, the target audience told me that the title 'Drug Teen' didn't stand out as it looked blurred with the background, due to this I added a stroke to the title so that it stands out and looks appealing. However, after making my second draft, I was told that the information at the bottom wasn't visible and didn't stand out. At first I felt that the information at the bottom doesn't need to stand out in the movie poster, but after looking at other movie posters I felt that I was wrong as in the movie posters, the information stood out. Therefore, I made changes to my movie poster once again and made the information at the bottom stand out so that it doesn't look as if it is not part of the movie poster. With all the feedback in mind, I made a final version of the movie poster which came out really well.
Thursday, 5 February 2015
Poster Idea - Henali
This is the poster I made for the different ideas we had to have before making the final version. I have used conventions such as title of characters, title and also credits. I also used the skatepark as the background as this was the main location in our film. I used photoshop to make this as I found it easier to use due to my ICT knowledge.

Drugteen Poster (Draft)-Farzin Moosa
In order to make a poster for our opening sequence, we all did some individual research and made our own posters and then brought our ideas together.

Movie poster - draft one
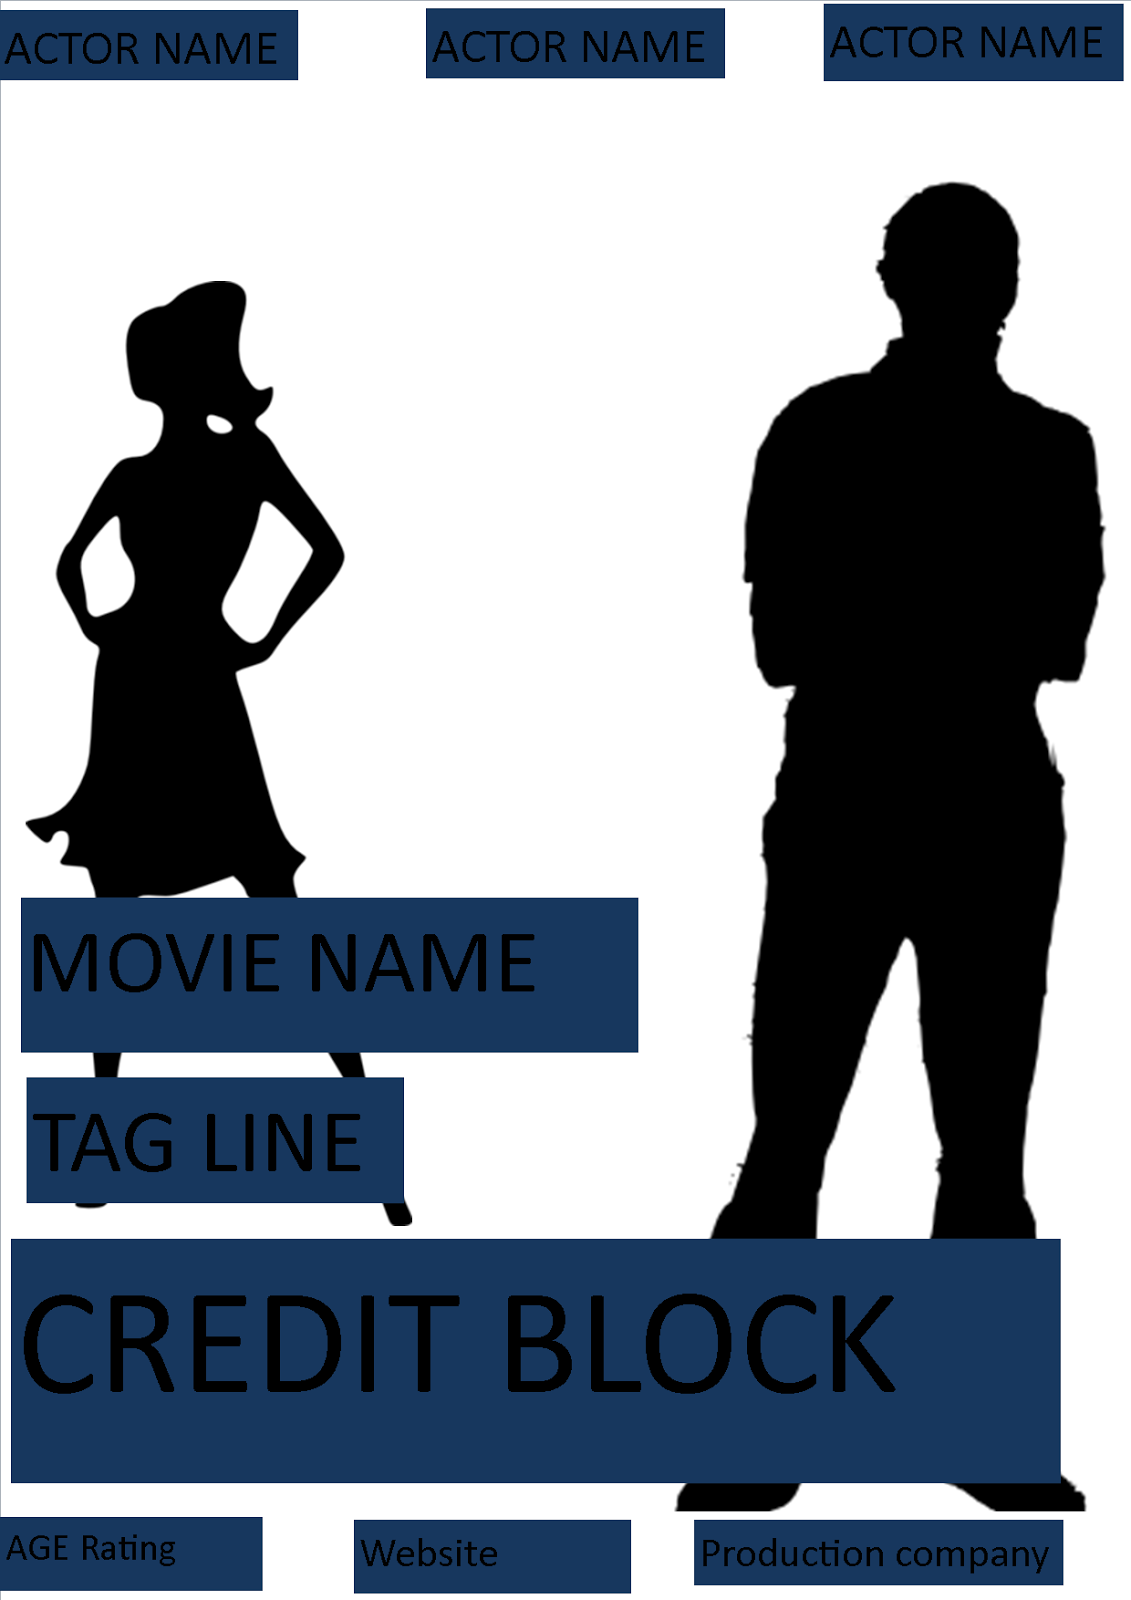
This is the first draft I made using Microsoft publisher. I have made it using publisher so it can be done quicker and also give me an idea on how it look. Before making the this draft, I had to research on the real movie posters so that I know the code and convention of the movie poster. From researching, I have found that every movie poster has credit block, image, institution names, Film age classification and movie title.

Thursday, 29 January 2015
Sunday, 25 January 2015
Evelina and Farzin's trip to the BFI store!
When we were first introduced to the topic of British Film Institution, we instantly became interested. In our own time we both did some research and found that there is a BFI store in Southbank of London. We both knew that we had to visit the store immediately and we were very excited to do so. On the day of our visit to the BFI store, it was Star Wars Day! Throughout the entire day, different Star Wars episodes were shown. Another exciting experience for us was to see special guests such as directors and script writers from the Star Wars series being interviewed on stage in front of our eyes! Here are some pictures from our trip to the BFI store.
Saturday, 24 January 2015

Friday, 23 January 2015
Role of the camera man - Anbish
Role of the camera man
What does a camera man do ?
The film cameraman, or cinematographer, decides how each shot will be captured on film, and determines the various aspects involved in filming a shot. Working closely with the director, the camera person makes decisions about lenses and film to be used for each shot, how to frame the shot in the best possible way, which angle to shoot from and how to set up the equipment for a shot. The camera person has to coordinate work responsibilities with the costume designers, actors and other crew members.
History
The cinematographer was usually also the director and the person physically handling the camera. As the art form and technology evolved, a separation between director and camera operator emerged.
What I did ?
I was highly involved during pre production and production process. As being a camera man, I had to plan in the pre-production on the types of the shots that would be appropriate so I had to work with the director. Furthermore, I had to test shoot it so that the shots portrays the plot of the opening sequences.Pre-production
- Discussed the shot type an about cinematography.
- Read over the shot types.
- Reece- Went to look for the skate park in different locations.
- Checked if the equipments were available.
- Hazards while shooting.
- good source of light. For example, directly behind the sun.

Shooting
- Closely involved with the directors.
- Checked costume.
- Checked lighting, focus and white balance.
- Rehearsing the scene.
- Shooting and moving the camera.
Experience of role
I had a good experience being a camera man , even though there were times when I struggled. For example, I was unable to make decision when there was a huge amount of pressure because of the amount of retake we had to take. This was difficult and was more time consuming , which demotivated the group member, as it was getting late and they had to go home by a certain time.
Overall,It was a good experience, as I got improve my camera skills and got to work under extreme pressure. I think this will make me a better camera man in the future because this has allowed me to identify my weakness and strength.
Thursday, 15 January 2015
Drugteen Rough cut- Evelina and Anbish
In the rough cut we have added a sound track to make it seem more like a film opening. We are making our sound and will be improving the colours in the different shots to make it too normal and natural.
Feedback

Tuesday, 13 January 2015
Shooting - Week 13
During the shooting process my role was to shoot the video and make sure everything was in the frame. There were few problems we faced during shooting such as unexpected rain and general public invading the stake park ( location we had to shoot the video). However, we managed to come over those barriers by rescheduling time for our shooting. This was time consuming but we managed to finish it on time.
This process helped me improve on my camera ,directing and communication skills. However if I were to do this task again, I would like to improve on my leadership skills by taking in charge of the group while shooting.
Evelina Week 13
Week 13
Week 13 was the most longest weeks ever, we had bad weather and characters not coming to the location on time and someday not showing up. But we all pulled together and made everyday happen and got some thing done. During the filming I helped with getting the character in the right place, getting the right angles, checking if the angle is correct to shoot for each shot and just making sure everything is safe to use (eg ramps) and that my group members and actors are safe in the area we where working in. To see what we did during the days we creating vlogs to show our filming processes behind the real camera and showing what really happened whiles filming.
Wednesday, 7 January 2015
.png)
Monday, 5 January 2015
Week 13-Farzin
Week 13: Filming
Our entire filming process was stressful but also really fun at the same time. For our filming to be finished on time, we managed our time in order to get it done without any distractions coming in the way. In order to get the longest scenes done first, we all met during weekends at the Skatepark as that was one of the locations for our film opening sequence. Even though we had individual roles in the group, we all shared our own thoughts and ideas on how each scene should look; this way we were able to make the right changes and complete each scene. Some of the filming was interrupted due to weather problems, as there were some days of rain which meant we would have to reschedule which was quite stressful.
In order for the Skatepark scene to be completed, we all met at the Skatepark and filmed all the scenes. There were some scenes which had to be redone, therefore we met every weekend until the scene in that particular location was completed. We also had to film a couple of final scenes after school at the skatepark which was quite easy as there were less people at the skatepark and there were only one or two scenes which had to be filmed. When it came to our school scenes, we all managed our time fairly so it wouldn’t be interrupted between our lessons and other school work. We filmed all the school scenes after school as there were less people and also because we were all free after school. Even though many of the scenes for our film opening sequence took long filming, we all managed our time fairly and worked together in order for the film opening sequence to be finished by sharing our own ideas and making changes where they had to be made. Along with filming the opening sequence, we also filmed vlogs showing our filming of the opening sequence, how each scene was filmed and what struggles we faced during the filming process. Overall it was a really fun experience and I really enjoyed working with my group.
Week 12-Farzin
Week 12: Test Shoot
Before making our film opening sequence, we had to see how the shots we decided to use would look on camera. In order to do this, we filmed each scene of the film opening sequence and saw whether or not the shots we had used looked reasonable according to each scene. On one weekend, we all travelled to the location we were going to use for our opening sequence which was a skate park. One of our group members, Evelina had volunteered to be on the camera when filming our test shoot. She had pretended to be the main character we were going to use in our opening sequence, this way we found it easier to identify how our actual main character would look on camera when he is being filmed. When we had a look at the test shoot altogether, we picked out which shots looked good and which shots didn't look good according the each scene. After, we made some changes to some of the shots which we had decided to use before in order to make each scene of the opening sequence even better.
Saturday, 3 January 2015
Test shot
We took a test shot to see how the video video would look like before shooting the actual opening sequence . The reason behind this was so that we would know what type of shots to use.
Subscribe to:
Comments (Atom)